Starting to learn FPGA can be challenging, and one of the biggest obstacles is the toolchain. For instance, a beginner may end up subscribing to a vendor’s website, surrendering his personal information, downloading a massive ~100GB software package, and spending half a day installing it, only to discover that he needs a license to use the IP he wanted for his project. This can be frustrating, not to mention the lack of innovation in the FPGA job, which makes our job more laborious, particularly for software engineers accustomed to more comfortable workflows.
It is ironic that licensed tools offer extensive capabilities but have two major drawbacks: they are too expensive to train people, and no one can learn at home. So we end up with labor market without enough FPGA engineers. In contrast, in almost every software domain, you can start for free with open-source tools at home. It is finally the case of FPGA, and it is time to democratize it.
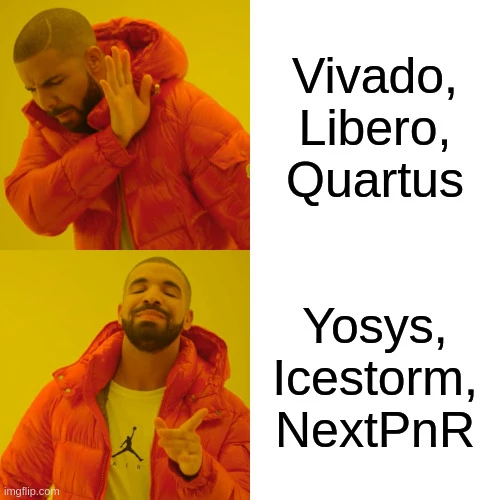
That’s why today’s tutorial is a step-by-step guide on how to go from an HDL file to a bitstream for an ICE40 FPGA using open source tool-chain: Yosys for synthesis, Nextpnr for place and route, and Icestorm for bitstream generation and flashing.
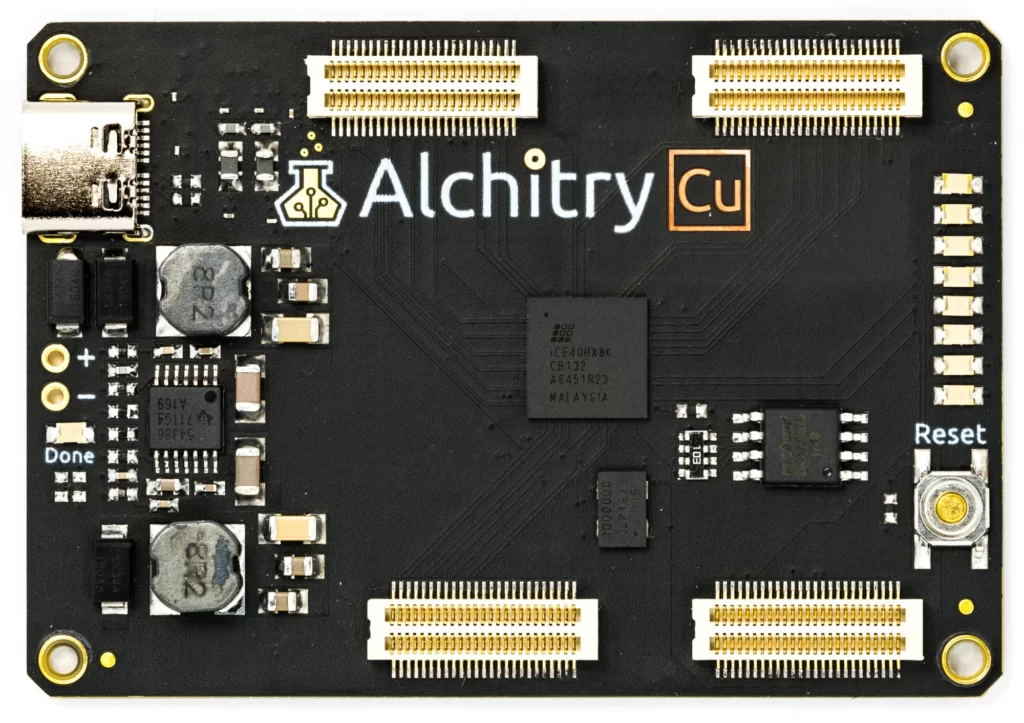
The tutorial uses the Alchitry CU board, which integrates an ICE40 FPGA. If you’d like to follow along, you’ll need an ICE40 FPGA board like the Alchitry CU, Icebreaker, or Go Board.
I. The tool-chain
In my last three blog articles, we discussed how to use Docker to install Yosys, Nextpnr, and Icestorm. To move forward, it is necessary to have all three software up and running within a container. To do this tutorial, you will need to complete the following steps:
- Install Make.
- Get Docker.
- Follow the instructions in the article “How to install Yosys with Docker?” to obtain a functional Yosys image.
- Follow the instructions in the article “How to install Icestorm with Docker?” to obtain a functional Icestorm image.
- Follow the instructions in the article “How to install NextPnR with Docker?” to obtain a functional Nextpnr image.
You will find a dockerfile for each one.
Assuming you have successfully completed the installation process for all three software, you should have the following docker images: “yosys:latest,” “nextpnr:latest,” and “icestorm:latest.” You can confirm this by typing the command:
docker imagesThe project is available on my github here.
First let me present you the project tree :
Makefile
src:
  hdl:
    - top.v
  synth:
    - synth.ys
  pnr:
    - pnr.sh
  bitgen:
    - bitgen.sh
  load:
    - load.sh
  constraints:
    - alchitry.pcf
build:
  artifacts:
      syn:
      pnr:
      bitstream:
  logs:
If you want to do everything from scratch create a makefile and start with this, we will complete the makefile during the article. If iyou clone the repo just do the make command that follow.
clean:
	rm -rf build/

build_tree:
	mkdir build
	mkdir build/artifacts
	mkdir build/artifacts/syn/
	mkdir build/artifacts/pnr/
	mkdir build/artifacts/bitstream/
	mkdir build/logs/
And run the following command to create the build directory tree.
make build_treeThe top is a LED connect to a DFF with constant 1 as d input. It is turn off when pushing the reset button.
It can be any working design as long as it is written in verilog and called top.v.
module top(
    input clock,
    input resetn,
    output reg LED
);
always @(posedge clock)
begin
if(!resetn)
    LED <= 1'b0;
else
    LED <= 1'b1;
end
endmodule
II. The synthesis with Yosys
When working with Yosys, you have the option of using command lines or scripts. For the purpose of automation, we will be using scripts in the form of a “synth.ys” file. This will allow us to automate the synthesis process and execute it more efficiently.
The synth.ys referenced above contains the following code:
read -sv src/hdl/top.v
hierarchy -top top
proc; opt; techmap; opt
synth_ice40 -top top -json build/artifacts/syn/synth.json
The first command reads the source file “top.v” located in the “/src/hdl” folder.
The second command tells Yosys which module is the top of your design.
The third command optimizes your design.
The fourth command synthesizes your design and puts the result in the “synth.json” file located in the “/build/artifacts/syn/” folder.
To check if it works, try the following command in the project root:
docker run -v $PWD:/project/ -w="/project/" yosys /bin/bash -c "yosys ./src/synth/synth.ys > ./build/logs/syn_log.txt 2>&1"The “-v $PWD:/project/” option is a volume that is used to share the project directory with the container. This means that any changes made to the project directory on the host machine will be reflected in the container and vice versa. Because the “build” folder is located within the project directory, any artifacts and logs created during the synthesis process will be persisted and created even after the termination of the container. This ensures that all generated files are accessible and can be used for subsequent steps in the workflow.
The option “-w=”/project/”” specifies the working directory where the command will be launched. In this case, the working directory is set to “/project/”, which is the project directory that was shared with the container using the “-v” option. This ensures that any commands executed within the container are executed in the correct directory and have access to all necessary files and dependencies.
The command “/bin/bash -c ‘yosys ./src/synth/synth.ys > ./build/logs/syn_log.txt 2>&1′” is used to execute the “synth.ys” script using Yosys. The script is located in the “/src/synth/” directory, and the output of the script is redirected to a log file located in the “/build/logs/” directory. This ensures that any errors or issues that arise during the synthesis process are properly recorded for analysis.
if every file and directory are in place, a synth.json file should appear in the build/artifacts/syn/ folder and a syn_log.txt file should appear in /build/logs/ folder.
To streamline the process, we will add the following command to the Makefile:
synthesis: src/hdl/top.v
    docker run -v $(PWD):/project/ -w="/project/" yosys /bin/bash -c "yosys ./src/synth/synth.ys > ./build/logs/syn_log.txt 2>&1"
The following is a breakdown of the command:
“synthesis” is the name of the command being executed.
“src/hdl/top.v” indicates that the command requires this file to exist before it can be executed.
The command itself is not provided.
III. The place and route with NextPnR
The nextpnr command to run the place and route is the following:
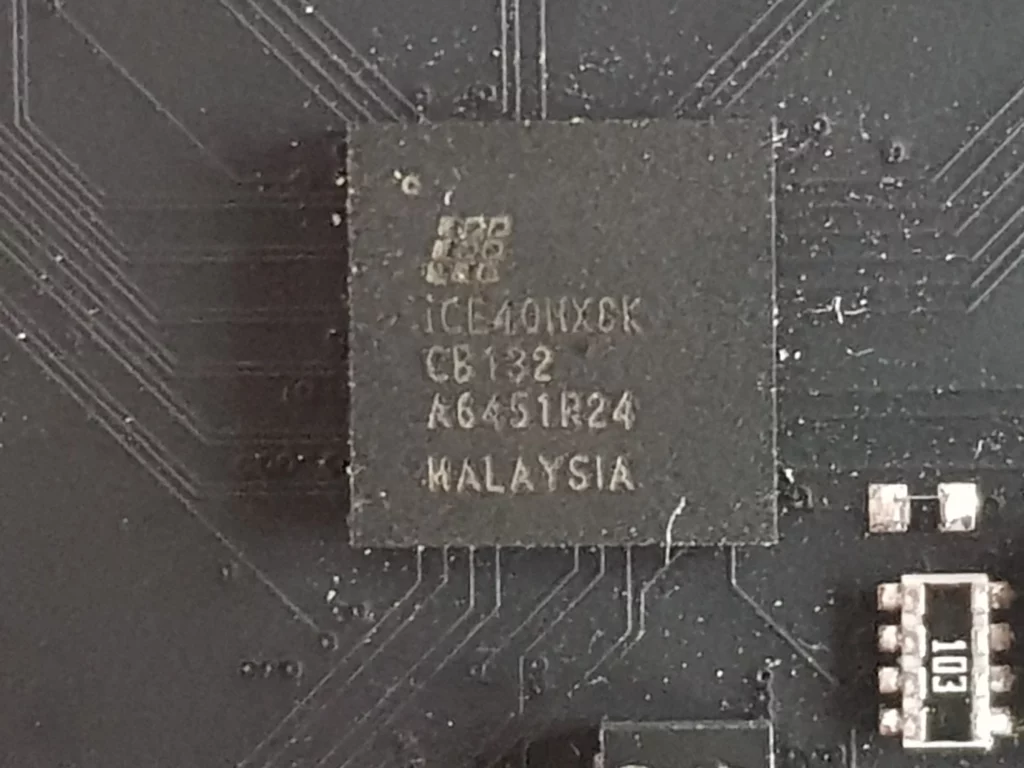
nextpnr-ice40 --hx8k --package cb132 --json ./build/artifacts/syn/synth.json --pcf ./src/constraints/alchitry.pcf --asc ./build/artifacts/pnr/top.asc --freq 100The first two options for NextPnR, ” –hx8k” and “–package cb132,” are used to specify the FPGA model and package, respectively. To determine the appropriate values for these options, you can refer to your FPGA and look for the relevant information printed on it. If the information is unreadable, you can try to guess based on the table provided on the following website: Project Icestorm . If the FPGA is too small to read, you can take a picture of it with your phone and zoom in to read the relevant details.
The third parameter, “–json ./build/artifacts/syn/synth.json,” specifies the path to the “synth.json”
file that was generated during the synthesis process with Yosys. This file will be used as input for the
place and route process with NextPnR.
The “–pcf ./src/constraints/alchitry.pcf” provides nextpnr with the IO constraints :
set_io clock P7
set_io resetn P8
set_io LED E1
The PCF file is used to tell NextPnR how to connect the signals from your design to the pins on the FPGA. This file is specific to the ICE40 Hx8k cb132 FPGA. If you are using a different FPGA, you will need to consult the relevant documentation or find a pre-existing PCF file on GitHub that you can modify to suit your needs.
The “–freq 100” option sets the clock frequency to 100MHz.
Finally, the “–asc ./build/artifacts/pnr/top.asc” option specifies the path and file name for the output of the place and route process. The resulting file, “top.asc,” will be located in the “/build/artifacts/pnr/” directory.
To check if it works run the command :
docker run -v $PWD:/project/ -w="/project/" nextpnr /bin/bash -c "./src/pnr/pnr.sh > ./build/logs/pnr_log.txt 2>&1"In the Makefile you can add :
pnr: build/artifacts/syn/synth.json
    docker run -v $(PWD):/project/ -w="/project/" nextpnr /bin/bash -c "./src/pnr/pnr.sh > ./build/logs/pnr_log.txt 2>&1"
IV. The bitstream Generation with Icestorm
After completing the synthesis and place and route processes for our design, the next step is to generate the bitstream.
This process involves converting the output file from the place and route process into a bitstream file that can be used
to program the FPGA with our design. The resulting bitstream file can then be loaded onto the FPGA.
Here our container will launch the bitgen.sh script:
icepack ./build/artifacts/pnr/top.asc ./build/artifacts/bitstream/bitstream.binIt simply generate the bitstream with the output of the place and route. I don’t know what actually happen here.
You can test it with the command:
docker run -v $PWD:/project/ -w="/project/" icestorm /bin/bash -c "./src/bitgen/bitgen.sh > ./build/logs/bitgen_log.txt 2>&1"And add the following lines to the Makefile:
bitstream: build/artifacts/pnr/top.asck
    docker run -v $(PWD):/project/ -w="/project/" icestorm /bin/bash -c "./src/bitgen/bitgen.sh > ./build/logs/bitgen_log.txt 2>&1"
V. Loading the bitstream with Icestorm
The container will launch the load.sh script:
iceprog ./build/artifacts/bitstream/bitstream.binIt will load the bitstream on the board.
To test it, first connect your board to your computer. Then run this command:
docker run --privileged -v $PWD:/project/ -w="/project/" icestorm /bin/bash -c "./src/load/load.sh > ./build/logs/load_log.txt 2>&1"It is important to note the use of the “–privileged” option in this step, which was not used in previous steps. This option grants our container access to the host device, in this case, the FPGA board connected to your computer. Without this option, you may encounter an error stating that there is no board connected to load the bitstream. This is because the container is isolated from your filesystem and cannot access the necessary device drivers to program the FPGA. Therefore, it is necessary to use the “–privileged” option to grant the container access to the host device.
We can now add this line to the makefile:
load: build/artifacts/bitstream/bitstream.bin
  docker run --privileged -v $(PWD):/project/ -w="/project/" icestorm /bin/bash -c "./src/load/load.sh > ./build/logs/load_log.txt 2>&1"
To finish the makefile we can add :
all: clean build_tree synthesis pnr bitstream loadThe “clean” command is used to delete every generated file from the workflow. This is useful when you want to start fresh and regenerate all files from the beginning. The “all” command is used to run every command in the correct order, from the HDL code to the final bitstream loaded onto your FPGA board.
Just try the “make clean” command in your terminal followed by the “make all” command and check if it works !
I mean it works, but did you followed the articles correctly ? :p
Conclusion
Now you have a basic workflow to start your own custom project on an FPGA. However, it is important to note that one critical aspect is missing: testing. Without proper testing, you cannot be sure that your custom project will behave as intended. Therefore, it is recommended that you test your design using a testbench with simulation and on the actual board. This workflow is only suitable for loading projects that do not require testing. If you encounter any issues with your custom project using this workflow, it is recommended that you stop and perform testing before proceeding further. You can use cocotb and follow my article on how to do your first cocotb testbench? for this purpose.
If you are an hobbyist or a maker, know that you are doing better quality project than a lot of real engineer just by using docker. Learning and mastering docker will help you even as a maker and is a must have for engineer. I prefer not letting you the choice and loosing some of you than teach you FPGA without Docker, but…

This tutorial is quite extensive and may introduce several new concepts for beginners. If you feel lost or need assistance, please do not hesitate to comment. I will do my best to assist you.
Thank you for reading. If you found this tutorial helpful, please share, comment, and bookmark!